Where To Start?
Counter-Strike maps are created using Valve’s in-house level editor Hammer. If I had embarked on this project a couple of years ago, I would be stuck using Hammer 4: the map editor for CS:GO. Luckily, the modern counterpart released for CS2 (Hammer 5) has the standard workflow expected from a modern level editor. This should make learning the engine a much easier task.
There are many tutorials across the internet on how to create a CS:GO map in Hammer 4, but a much more limited amount on how to make one for CS2. After a little research, I decided to follow Eagle One Development Team‘s tutorial series on CS2 mapping (found here) as it seemed like a comprehensive and concise guide.
In today’s post I am going to cover all the techniques I will use to create my final map, in the form of a simple test map.
My First Room
Following the guide, the first thing to do was create a room. This introduced the general techniques used by mappers in CS2. By creating a cube and inverting its faces, you can easily define a room, and then by setting the ceiling mesh to the skybox material, you can allow the sun to light it.
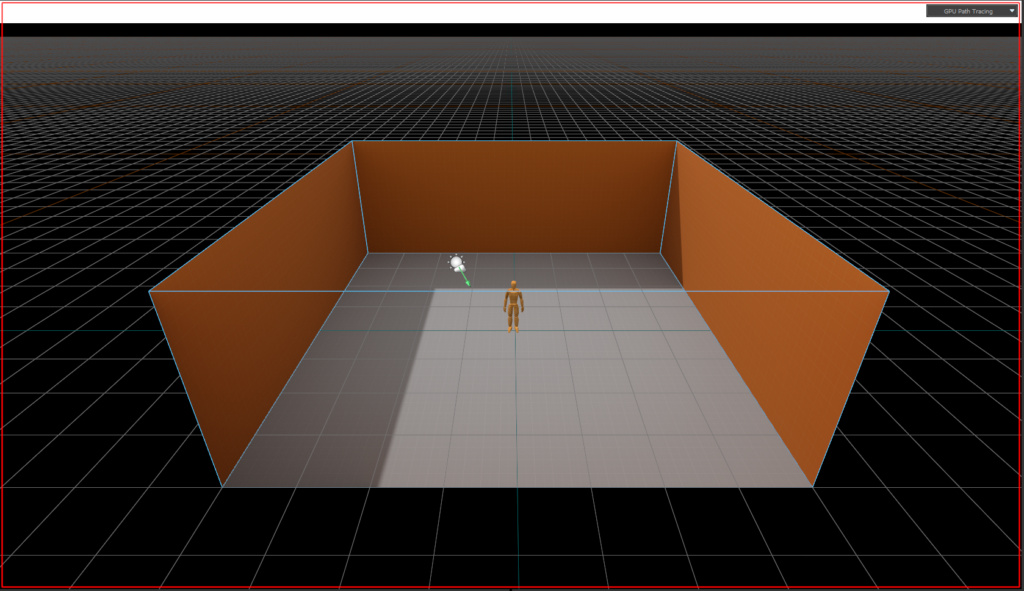
While this may look simple, it is the main tool used to create CS2 maps. Next, I need to learn how to create doorways and halls.
Hallways and Bomb Sites
Following along with the tutorial, I’m now using assorted extrude and rotate tools to create hallways, which will connect to two simple bomb plant sites.
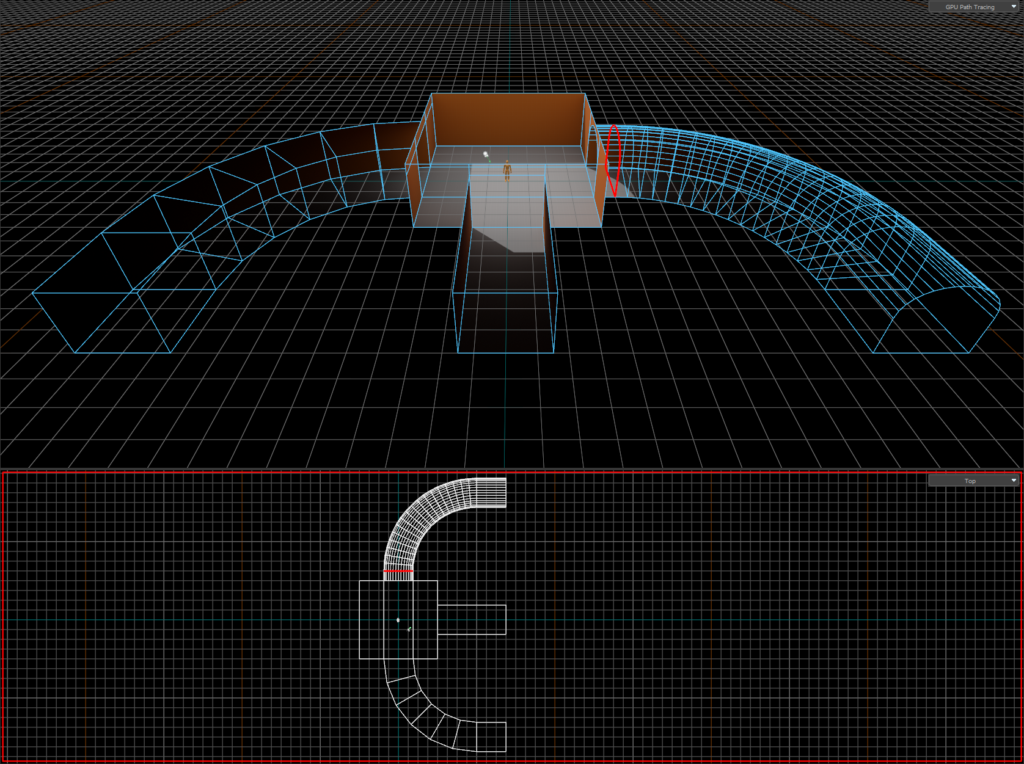
Again, using extrude, scale, bevel and transform tools, I created 2 bomb sites and a ‘mid’ (short for middle, this is usually the area of the map connecting the two sites, although I’ll add the connecting hallways in the next step).
Connecting Rooms and Adding Light
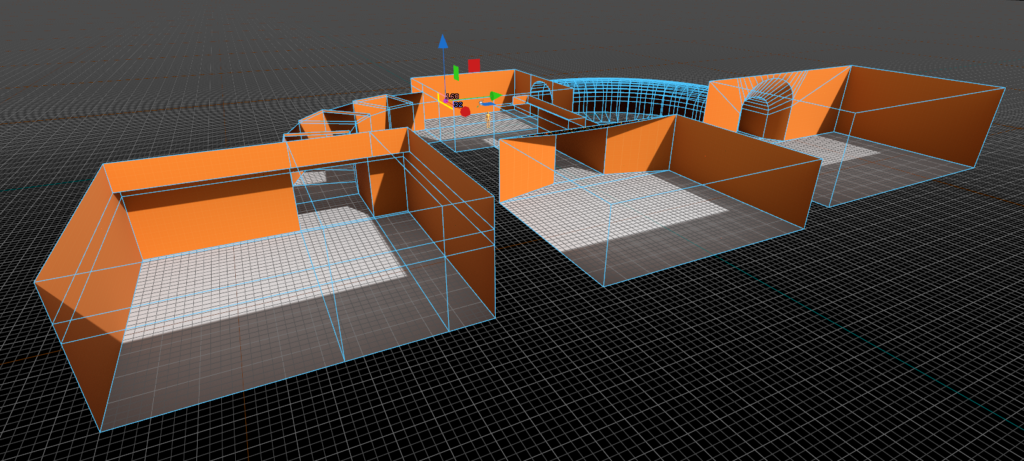
Although it might seem easy, connecting two rooms is not quite as simple as making a hole in two walls, it involves stitching the mesh together at the connecting points. This is an important technique that will help me later down the line a lot, which I’ve applied here.
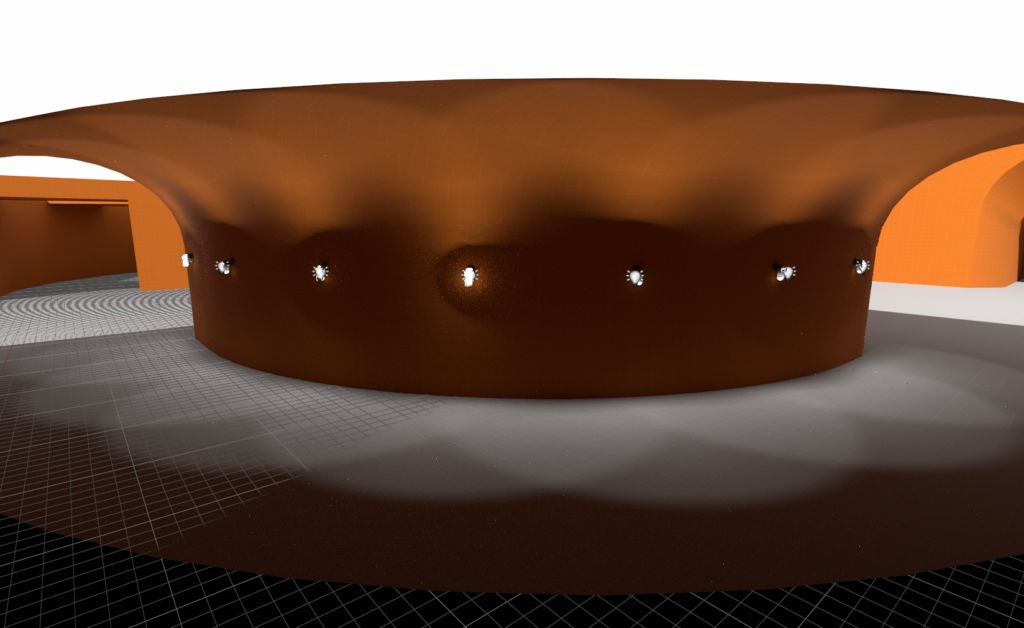
I then added some entity lights. These will help brighten up dark spots that I can’t reach with the skylight.
Finishing Touches
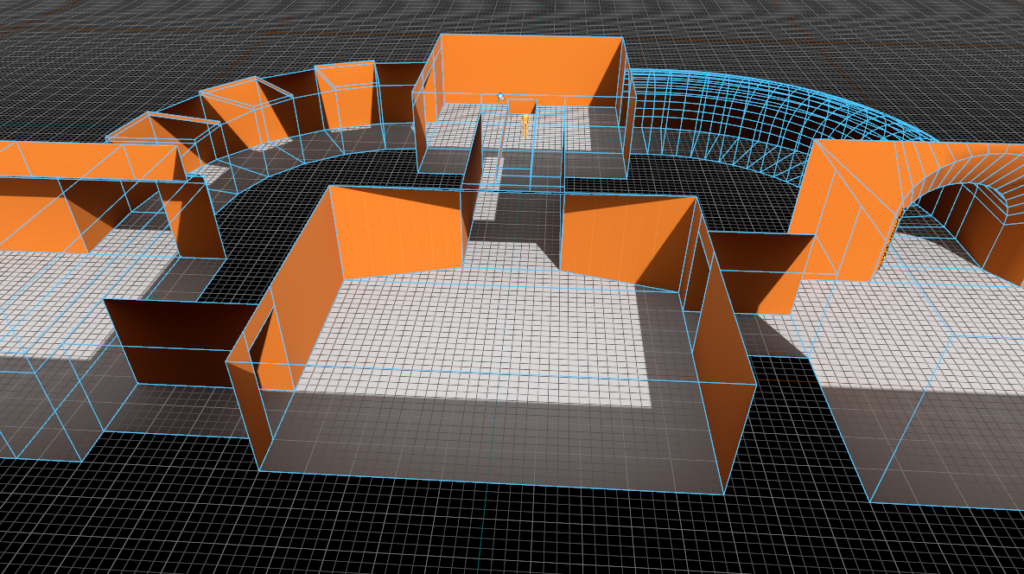
In this step I added the counter-terrorist side using the mirror tool, and put boxes around the map to make peeking and moving more interesting.
I also added some geometry to middle to prevent the two spawns being able to see eachother.
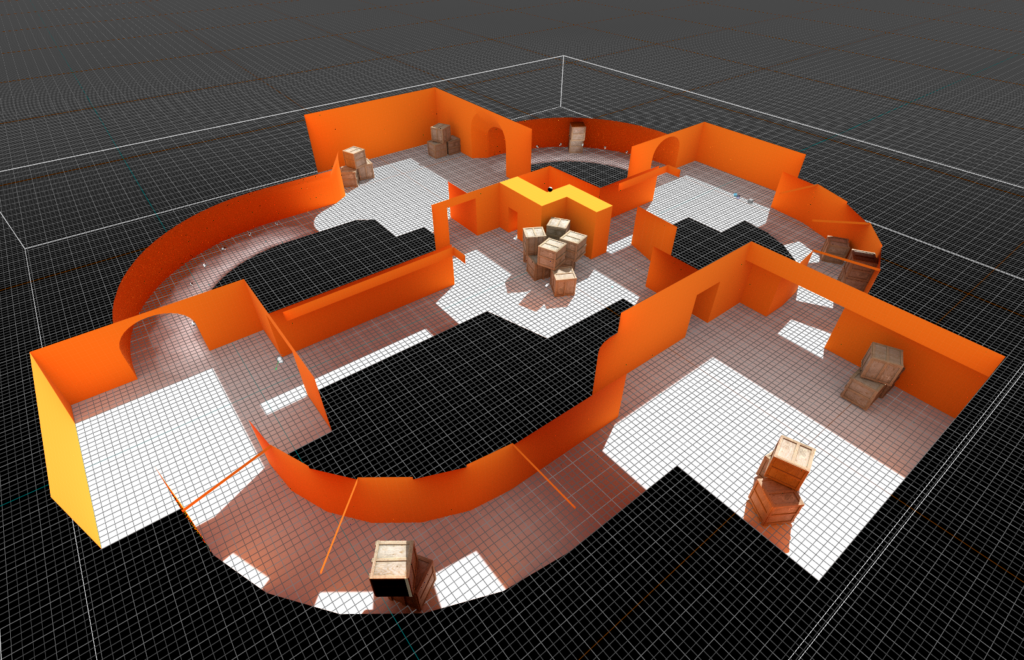
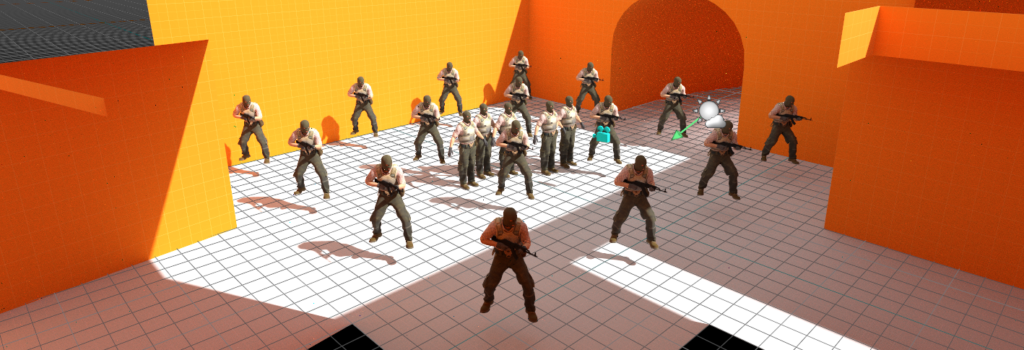
I then added the necessary prerequisites to build any CS2 map. This includes the terrorist and counter-terrorist spawn positions, the skybox entity and other technical pieces.
Building and Playing
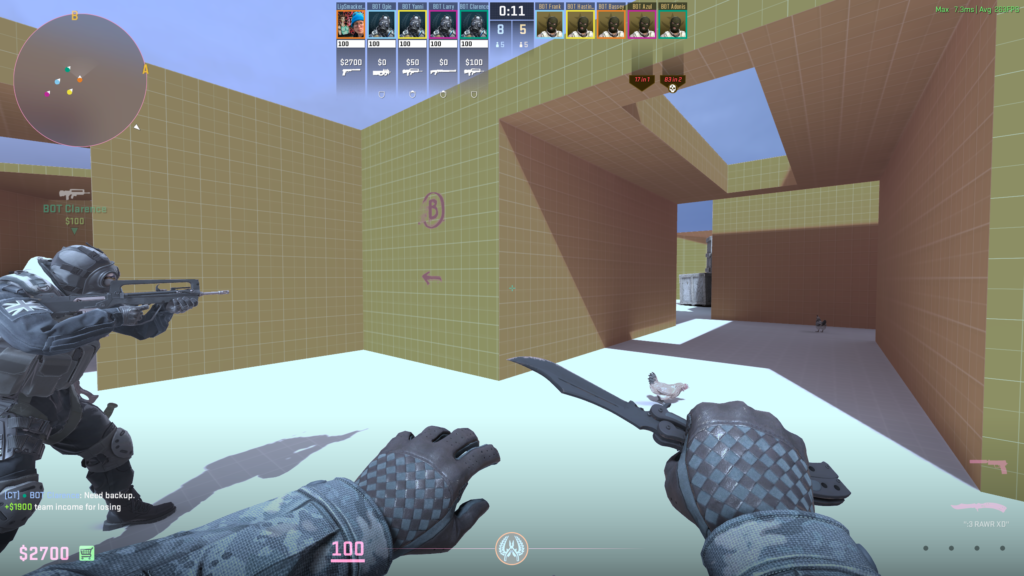
After building the map (as simple as configuring a few options and pressing build), the map is now playable! Here’s a couple screenshots of me running around:

Next week I’ll start work on the map that I will be submitting, with the knowledge of how to create all the pieces fresh in my mind!